Black & Decker 12-Cup Coffee Maker Manual: A Comprehensive Guide
This manual provides detailed instructions for operating your Black & Decker 12-cup coffee maker, ensuring optimal performance and longevity․ Download the client and begin your adventure!
Welcome to the world of convenient and flavorful coffee brewing! This Black & Decker 12-cup coffee maker is designed for ease of use and consistent results, delivering a perfect pot every time․ Whether you’re starting your day or enjoying an afternoon pick-me-up, this appliance simplifies your coffee routine․

This manual serves as a comprehensive guide, covering everything from initial setup and brewing instructions to troubleshooting and maintenance․ Like embarking on an adventure in Black Desert, mastering this coffee maker unlocks a daily ritual of enjoyment․ Prepare to effortlessly switch between brewing strengths and experience the precision of a well-crafted cup․ Download the client and begin!
Understanding the Parts
Familiarizing yourself with the components of your Black & Decker 12-cup coffee maker is crucial for proper operation․ The Coffee Maker Base houses the internal heating element and controls․ Above it sits the Water Reservoir, clearly marked with water level indicators for accurate filling․
The Filter Basket securely holds a standard paper filter and your desired amount of coffee grounds․ Finally, the durable Carafe, designed to keep your coffee warm, rests on the warming plate․ Like a Deadeye’s arsenal, each part plays a vital role․ Understanding these elements, similar to mastering Black Desert’s skills, ensures a smooth and satisfying brewing experience․ Download the client and begin!
Coffee Maker Base
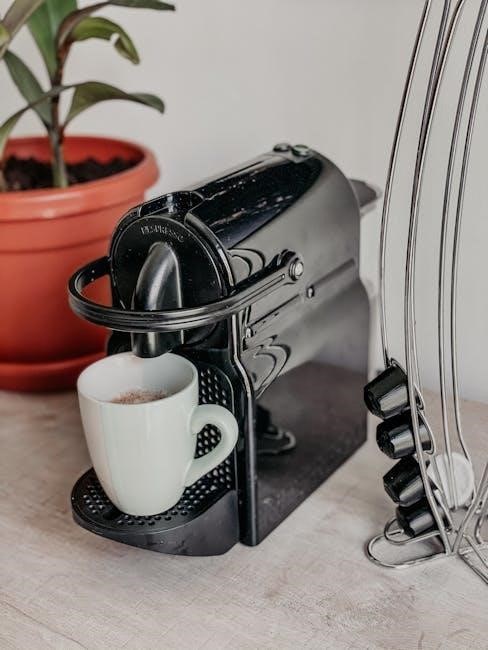
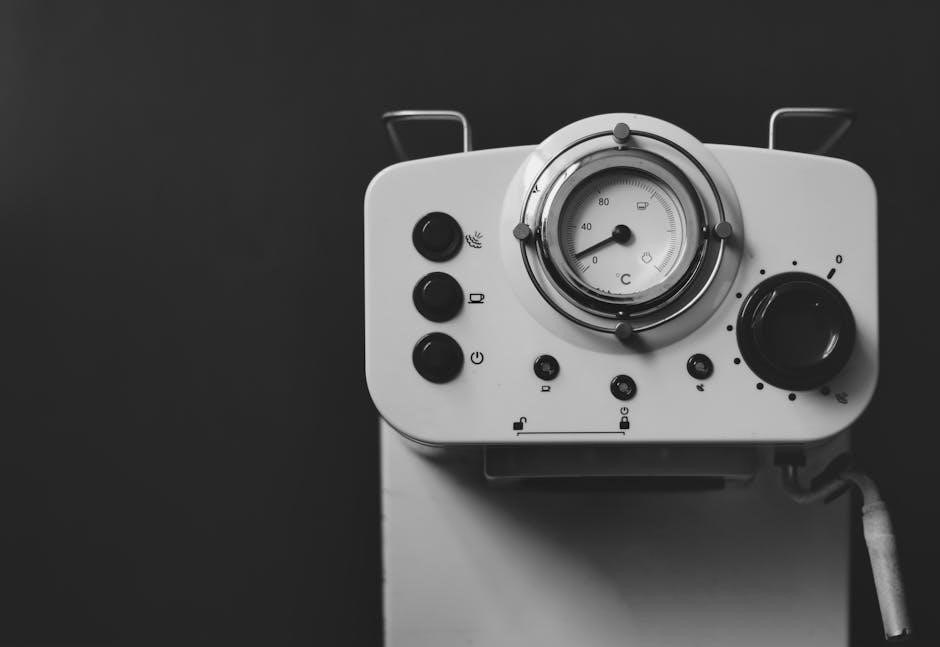
The Coffee Maker Base is the central hub of your Black & Decker 12-cup coffee maker, containing the heating element responsible for brewing․ It houses the power button and, on some models, the programmable timer controls․ Ensure the base is placed on a stable, level surface before use․
Like the foundation of the Olvia Academy, it provides essential support․ Avoid immersing the base in water; wipe clean with a damp cloth․ Proper care, similar to maintaining your Black Desert character, extends its lifespan․ The base’s functionality is key to consistently delivering a perfect pot, just as a steady first step is crucial for adventure!
Water Reservoir
The Water Reservoir holds the water used during the brewing process․ It’s typically removable for easy filling and cleaning, marked with clear level indicators for accurate measurements – crucial for achieving your desired coffee strength․ Like gathering Seraphia-Siegel through diligent angling in Black Desert, precise measurement yields rewarding results․
Always use fresh, cold water․ Avoid overfilling beyond the maximum line․ Regular cleaning prevents mineral buildup, ensuring optimal performance and preventing a slow brewing cycle․ Treat it with the same care you’d give to crafting Onetts/Odores Geisteressenz, ensuring a smooth and efficient process for a perfect brew every time․
Filter Basket
The Filter Basket securely holds the coffee filter during brewing․ It’s designed for standard cone-shaped filters, ensuring proper water flow and preventing grounds from entering your coffee․ Much like the Olvia Academy rising as a haven for adventurers, the filter basket provides a foundational element for a quality brew․
Ensure the basket is properly seated before starting the brewing cycle․ Regularly clean the basket to remove any residual coffee oils or grounds, preventing off-flavors․ Consider it akin to refining your arsenal of weapons in Black Desert – consistent maintenance leads to superior performance and a consistently enjoyable outcome with each pot․
Carafe
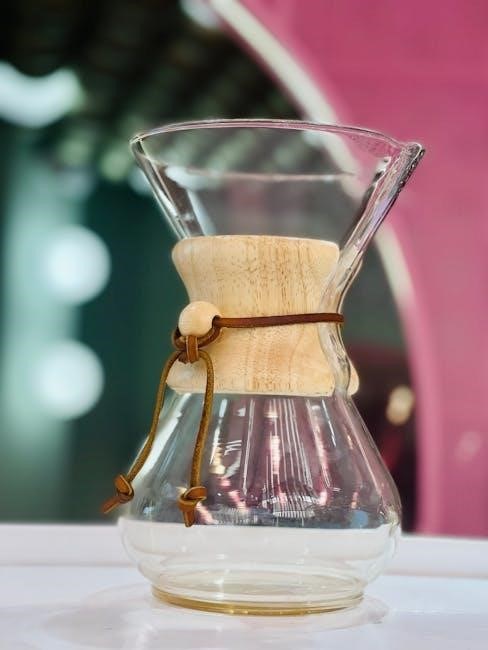
The carafe is the glass pot that collects the brewed coffee․ It’s designed to sit on the warming plate, keeping your coffee at an optimal temperature․ Like a Deadeye taking down enemies with precision, the carafe delivers the final product – a satisfying cup of coffee․ Handle with care, as it can become hot during and after brewing․
Always ensure the carafe is properly positioned on the warming plate before starting a brew cycle․ Avoid sudden temperature changes, as this could cause the glass to shatter․ Regular cleaning is essential to prevent staining and maintain coffee flavor․ Treat it with the same care as a newly acquired “Stille Eleganz” outfit – preserving its quality enhances the experience․
Setting Up Your Coffee Maker
Prepare for brewing! Initial setup involves cleaning, potentially installing a water filter, and running a first brewing cycle without coffee grounds․
Initial Cleaning Procedure
Before your first delicious brew, a thorough cleaning is essential․ Remove all packaging materials, including any stickers or labels․ Wash the carafe, filter basket, and lid with warm, soapy water․ Rinse them completely to remove any residue․ Wipe down the coffee maker’s exterior with a damp cloth․
Crucially, run a full brewing cycle with water only․ Fill the water reservoir to the maximum fill line and initiate a brew cycle without adding coffee grounds or a filter․ This process effectively flushes out any manufacturing remnants and ensures a fresh, clean taste for your first pot of coffee․ Discard the water after the cycle completes․ Repeat this process one more time for optimal results․
Water Filter Installation (If Applicable)
If your Black & Decker 12-cup coffee maker model includes a water filter, installation is straightforward․ Locate the filter compartment, typically within the water reservoir․ Remove the filter packaging and rinse the filter under cold water for one minute, as directed; This removes any loose carbon particles․
Insert the filter into the compartment, ensuring it clicks securely into place․ Some models require a specific orientation; consult the diagram in your manual․ The filter improves water quality and coffee taste by reducing chlorine, odors, and impurities․ Remember to replace the filter regularly – approximately every 60 days, or after 60 brewing cycles – for continued optimal performance․
First-Time Brewing Cycle
Before enjoying your first pot of coffee, it’s crucial to perform a cleaning cycle․ Fill the water reservoir to the 12-cup maximum line with fresh, cold water․ Do not add coffee grounds for this initial brew․ Place the empty carafe securely on the warming plate․ Press the power button to begin the brewing process․
Allow the full cycle to complete․ This flushes out any residual manufacturing residue from the internal components․ Once finished, carefully discard the hot water from the carafe․ You may repeat this process one additional time for thorough cleaning․ Your Black & Decker 12-cup coffee maker is now ready for brewing delicious coffee!
Brewing Coffee: Step-by-Step Instructions
Follow these simple steps for a perfect brew! Add water, insert a filter with grounds, select strength, and start the cycle for optimal results․
Adding Water to the Reservoir
Carefully remove the water reservoir from the coffee maker base․ Locate the water level indicator markings, clearly displaying cup measurements․ Using a clean water source, pour the desired amount of water into the reservoir, ensuring you do not exceed the maximum fill line․ Overfilling can cause overflow during the brewing process․
For optimal coffee flavor, filtered water is highly recommended․ Once filled, securely reattach the reservoir to the coffee maker base, verifying it’s properly seated․ A properly seated reservoir is crucial for preventing leaks and ensuring a successful brewing cycle․ Double-check the connection before proceeding to the next step․
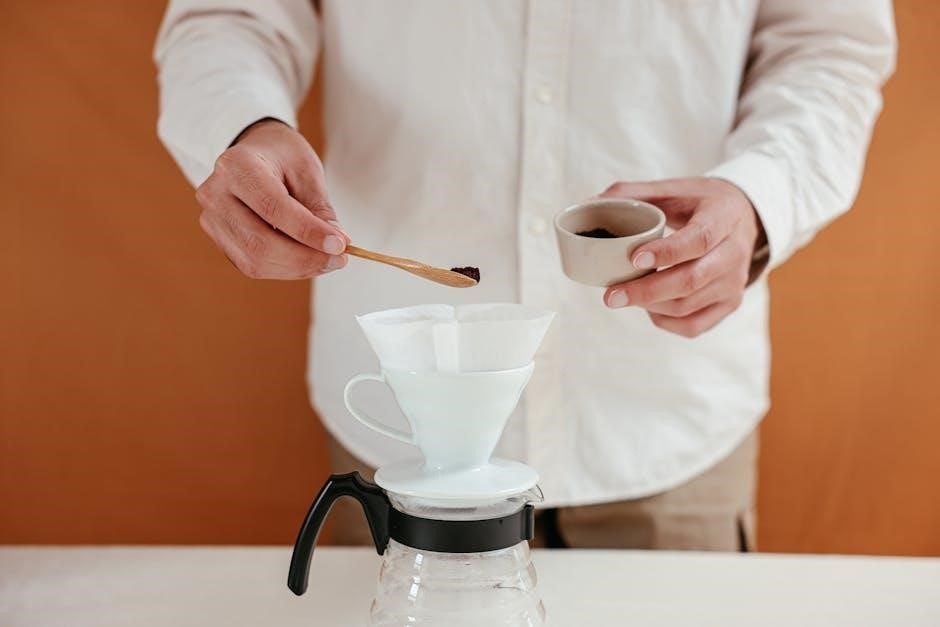
Inserting the Filter and Coffee Grounds
Open the filter basket located within the coffee maker․ Insert a standard paper filter, ensuring it sits flat against the basket’s interior․ Using the correct filter size prevents grounds from overflowing․ Add the desired amount of ground coffee to the filter․ A general guideline is one to two tablespoons of ground coffee per six ounces of water, adjusting to your preferred strength․
Gently level the coffee grounds for even saturation during brewing․ Close the filter basket securely․ Ensure it clicks into place to prevent any spillage during the brewing cycle․ A secure closure is vital for a clean and efficient brewing process․ Now, the coffee maker is prepared for brewing!
Selecting Brew Strength (If Applicable)
Some Black & Decker 12-cup coffee makers offer adjustable brew strength settings․ If your model includes this feature, locate the brew strength selector button, often labeled “Regular” or “Bold․” Pressing this button allows you to cycle through available options․
“Regular” provides a standard coffee flavor, suitable for everyday enjoyment․ “Bold” delivers a richer, more intense taste, ideal for those who prefer a stronger brew․ Experiment with both settings to discover your preferred strength․ Note that selecting “Bold” may slightly increase brewing time․ If no selector is present, the coffee maker brews at a standard, pre-set strength․
Starting the Brewing Cycle
Once the water reservoir is filled, the filter and grounds are in place, and the brew strength is selected (if applicable), you’re ready to begin brewing․ Locate the power button, typically marked with a power symbol․ Press the power button to initiate the brewing process․
A light indicator will illuminate, confirming the cycle has started․ The coffee maker will automatically heat the water and begin dripping brewed coffee into the carafe․ Avoid interrupting the brewing cycle unless utilizing the “Pause and Serve” function․ Allow the complete brewing process to finish for optimal flavor extraction․ The unit will then transition to the “Keep Warm” function․
Features and Functions
Explore the Black & Decker coffee maker’s capabilities, including programmable timers, auto shut-off, pause and serve, and a convenient keep-warm function for fresh coffee․
Programmable Timer Function
The programmable timer allows you to wake up to freshly brewed coffee․ Set the timer to automatically begin the brewing cycle at your desired time, up to 24 hours in advance․ This feature is incredibly convenient for busy mornings, ensuring a hot pot of coffee is ready when you are․ To program the timer, first, press the “Timer” button․ Use the hour and minute buttons to set the desired start time․ Confirm your selection by pressing the “Timer” button again․ The indicator light will illuminate, confirming the timer is set․ Remember to ensure sufficient water and coffee grounds are in the machine before the programmed time!
Auto Shut-Off Feature
Your Black & Decker 12-cup coffee maker is equipped with an automatic shut-off feature for safety and energy conservation․ After the brewing cycle is complete and the keep-warm function has elapsed (typically after two hours), the coffee maker will automatically power down․ This prevents overheating and potential hazards․ The auto shut-off function operates independently of the programmable timer․ It’s a crucial safety mechanism, especially if you forget to manually turn off the appliance․ Always ensure the coffee maker is unplugged when not in use for extended periods, even with the auto-shutoff engaged․
Pause and Serve Function
The Black & Decker 12-cup coffee maker features a convenient “Pause and Serve” function, allowing you to interrupt the brewing cycle momentarily to pour yourself a cup before it’s finished․ Simply remove the carafe from the warming plate; this will automatically pause the brewing process․ Be careful, as a small amount of coffee may drip while removing the carafe․ Replace the carafe within 30 seconds to resume brewing․ Prolonged removal may affect the coffee’s flavor and temperature․ This feature provides flexibility for those eager to enjoy a quick cup without waiting for the entire cycle to complete․
Keep Warm Function
The Black & Decker 12-cup coffee maker is equipped with a keep-warm function designed to maintain your coffee at an optimal serving temperature after brewing is complete․ The warming plate automatically activates once brewing finishes, keeping your coffee warm for up to two hours․ However, for the best flavor, it’s recommended to consume the coffee within this timeframe․ After two hours, the auto shut-off feature will activate for safety․ Note that prolonged warming may slightly alter the coffee’s taste, so enjoying it promptly is always preferred․ This ensures a consistently warm and enjoyable cup․

Troubleshooting Common Issues
This section addresses frequent problems with your Black & Decker coffee maker, offering solutions for issues like power failures, slow brewing, and overflows․
Coffee Maker Not Turning On
If your Black & Decker 12-Cup Coffee Maker fails to power on, first verify the unit is securely plugged into a functioning electrical outlet․ Test the outlet with another device to confirm it’s delivering power․
Next, check the coffee maker’s power cord for any visible damage, such as fraying or cuts․ A damaged cord presents a safety hazard and should be replaced․ Ensure the carafe is properly positioned on the warming plate; a safety mechanism prevents operation if it’s absent․
Finally, examine the control panel for any accidental lock or reset functions․ If the issue persists, consult a qualified appliance repair technician․
Coffee Brewing Too Slowly
If your Black & Decker 12-Cup Coffee Maker is brewing exceptionally slowly, the most common cause is mineral buildup․ Scale accumulation restricts water flow, hindering the brewing process․ Descaling the coffee maker regularly – every 1-3 months, depending on water hardness – is crucial․
Also, ensure the filter basket isn’t overfilled with coffee grounds, as this can create a blockage․ Using the correct filter type is also important․ Check the spray head within the water reservoir for any obstructions;
Finally, verify the water reservoir is adequately filled; insufficient water can slow down the cycle․
Coffee Overflowing
If your Black & Decker 12-Cup Coffee Maker is overflowing, several factors could be at play; First, avoid overfilling the water reservoir beyond the maximum fill line indicated․ Secondly, ensure you are using the correct size and type of paper filter, properly seated within the filter basket․
Overpacking the filter basket with coffee grounds can also cause overflow․ Use the recommended coffee-to-water ratio․ A clogged spray head within the reservoir can also restrict water distribution, leading to overflow․ Descale regularly to prevent this․
Finally, confirm the carafe is correctly positioned on the warming plate․
Carafe Not Staying Warm
If your Black & Decker 12-Cup Coffee Maker’s carafe isn’t maintaining temperature, verify the warming plate is clean and free of coffee residue․ A dirty plate hinders heat transfer․ Ensure the carafe is properly seated on the warming plate; it needs full contact․
Confirm the coffee maker’s auto-shutoff feature hasn’t activated prematurely․ Some models have adjustable keep-warm times; Check the power outlet to ensure it’s functioning correctly․ A faulty outlet will prevent the warming plate from operating․
Inspect the carafe for any cracks or damage, as this can affect its ability to retain heat․
Cleaning and Maintenance
Regular cleaning extends your Black & Decker coffee maker’s life․ Daily rinsing and periodic descaling prevent buildup, ensuring fresh, flavorful coffee consistently․
Daily Cleaning Procedures
To maintain optimal performance, daily cleaning is essential․ After each use, always unplug the coffee maker and allow it to cool completely․ Remove the filter basket and discard the used coffee grounds and filter․ Wash the filter basket and carafe with warm, soapy water, rinsing thoroughly․
Wipe down the coffee maker’s exterior with a damp cloth․ Avoid abrasive cleaners, as they can damage the finish․ Ensure no water enters the electrical components․ A quick daily routine prevents residue buildup and ensures consistently delicious coffee․ Remember to dry all parts completely before reassembling․
Descaling the Coffee Maker
Regular descaling removes mineral buildup, crucial for maintaining brewing performance․ Fill the water reservoir with a mixture of equal parts white vinegar and water․ Run a full brewing cycle without coffee grounds․ Repeat this process with fresh water two to three times to thoroughly rinse away any vinegar residue․

Descaling should be performed every 1-3 months, depending on water hardness․ Ignoring this step can lead to slower brewing, weaker coffee, and potential damage to the appliance․ A clean coffee maker ensures optimal flavor and extends its lifespan․ Always follow safety precautions during descaling․
Cleaning the Carafe and Filter Basket
After each use, wash the carafe and filter basket with warm, soapy water․ Rinse thoroughly to remove all soap residue․ The carafe is typically dishwasher safe (top rack recommended), but check your model’s specific instructions․ For stubborn coffee stains in the carafe, a paste of baking soda and water can be effective․
The filter basket can also be washed in the dishwasher or by hand․ Ensure the basket is completely dry before reassembling․ Regular cleaning prevents the buildup of oils and residue, preserving coffee flavor and hygiene․ Avoid abrasive cleaners that could scratch the surfaces․
Long-Term Storage Instructions
If storing your Black & Decker 12-cup coffee maker for an extended period, ensure it is completely dry․ Thoroughly clean the carafe, filter basket, and exterior․ Remove and discard any used water filter․ Wrap the power cord loosely and secure it with a twist tie․
Store the coffee maker in a cool, dry place, away from direct sunlight and extreme temperatures․ Consider placing it back in its original packaging for added protection․ Before future use, run a full brewing cycle with water only to flush out any potential residue․ This ensures a fresh, clean brew․
Safety Precautions
Always follow electrical safety guidelines and avoid burns․ Use the carafe properly, and heed general warnings for safe operation of your Black & Decker coffee maker․
Electrical Safety Guidelines
To ensure safe operation, always plug your Black & Decker 12-cup coffee maker into a grounded electrical outlet․ Never operate the appliance with a damaged cord or plug; replace them immediately․ Avoid using extension cords if possible, and if necessary, ensure the cord is appropriately rated for the coffee maker’s wattage․
Do not immerse the coffee maker base, cord, or plug in water or other liquids․ Unplug the appliance from the outlet when not in use and before cleaning․ Never pull the cord to disconnect the coffee maker; grasp the plug instead․ Keep the appliance away from heat sources and flammable materials․ Regularly inspect the power cord for any signs of damage․
Avoiding Burns and Scalds
Exercise extreme caution when handling hot coffee and the carafe․ The carafe and coffee maker surfaces become hot during and after brewing․ Always use the carafe handle and avoid touching hot surfaces directly․ Be mindful of escaping steam, which can cause burns․
Keep the coffee maker out of reach of children․ Do not allow children to operate the appliance unsupervised․ When pouring coffee, do so slowly and carefully to prevent spills․ If coffee spills, clean it up immediately to avoid slips and burns․ Allow the coffee maker to cool completely before cleaning or storing․ Never open the lid during the brewing cycle․
Proper Usage of the Carafe
Always ensure the carafe is properly positioned on the warming plate before brewing․ The carafe is designed specifically for use with this coffee maker; do not substitute it with another container․ Handle the carafe with care, as it is made of glass and can break if dropped or subjected to sudden temperature changes․
Avoid scratching or chipping the carafe, as this can weaken the glass․ When pouring, tilt the carafe smoothly to prevent spills․ Do not use abrasive cleaners on the carafe, as they can damage the surface․ Clean the carafe after each use to prevent coffee residue buildup․
General Safety Warnings
To prevent electrical shock, never immerse the coffee maker base, cord, or plug in water or other liquids․ Always unplug the appliance when not in use and before cleaning․ Do not operate the coffee maker with a damaged cord or plug․ Supervise children closely when the appliance is in use․
Avoid touching hot surfaces, such as the warming plate, during and after brewing․ Use caution when handling hot coffee․ This appliance is intended for household use only․ Do not use outdoors․ Ensure the appliance is placed on a stable, level surface before operation․